EGYM settings
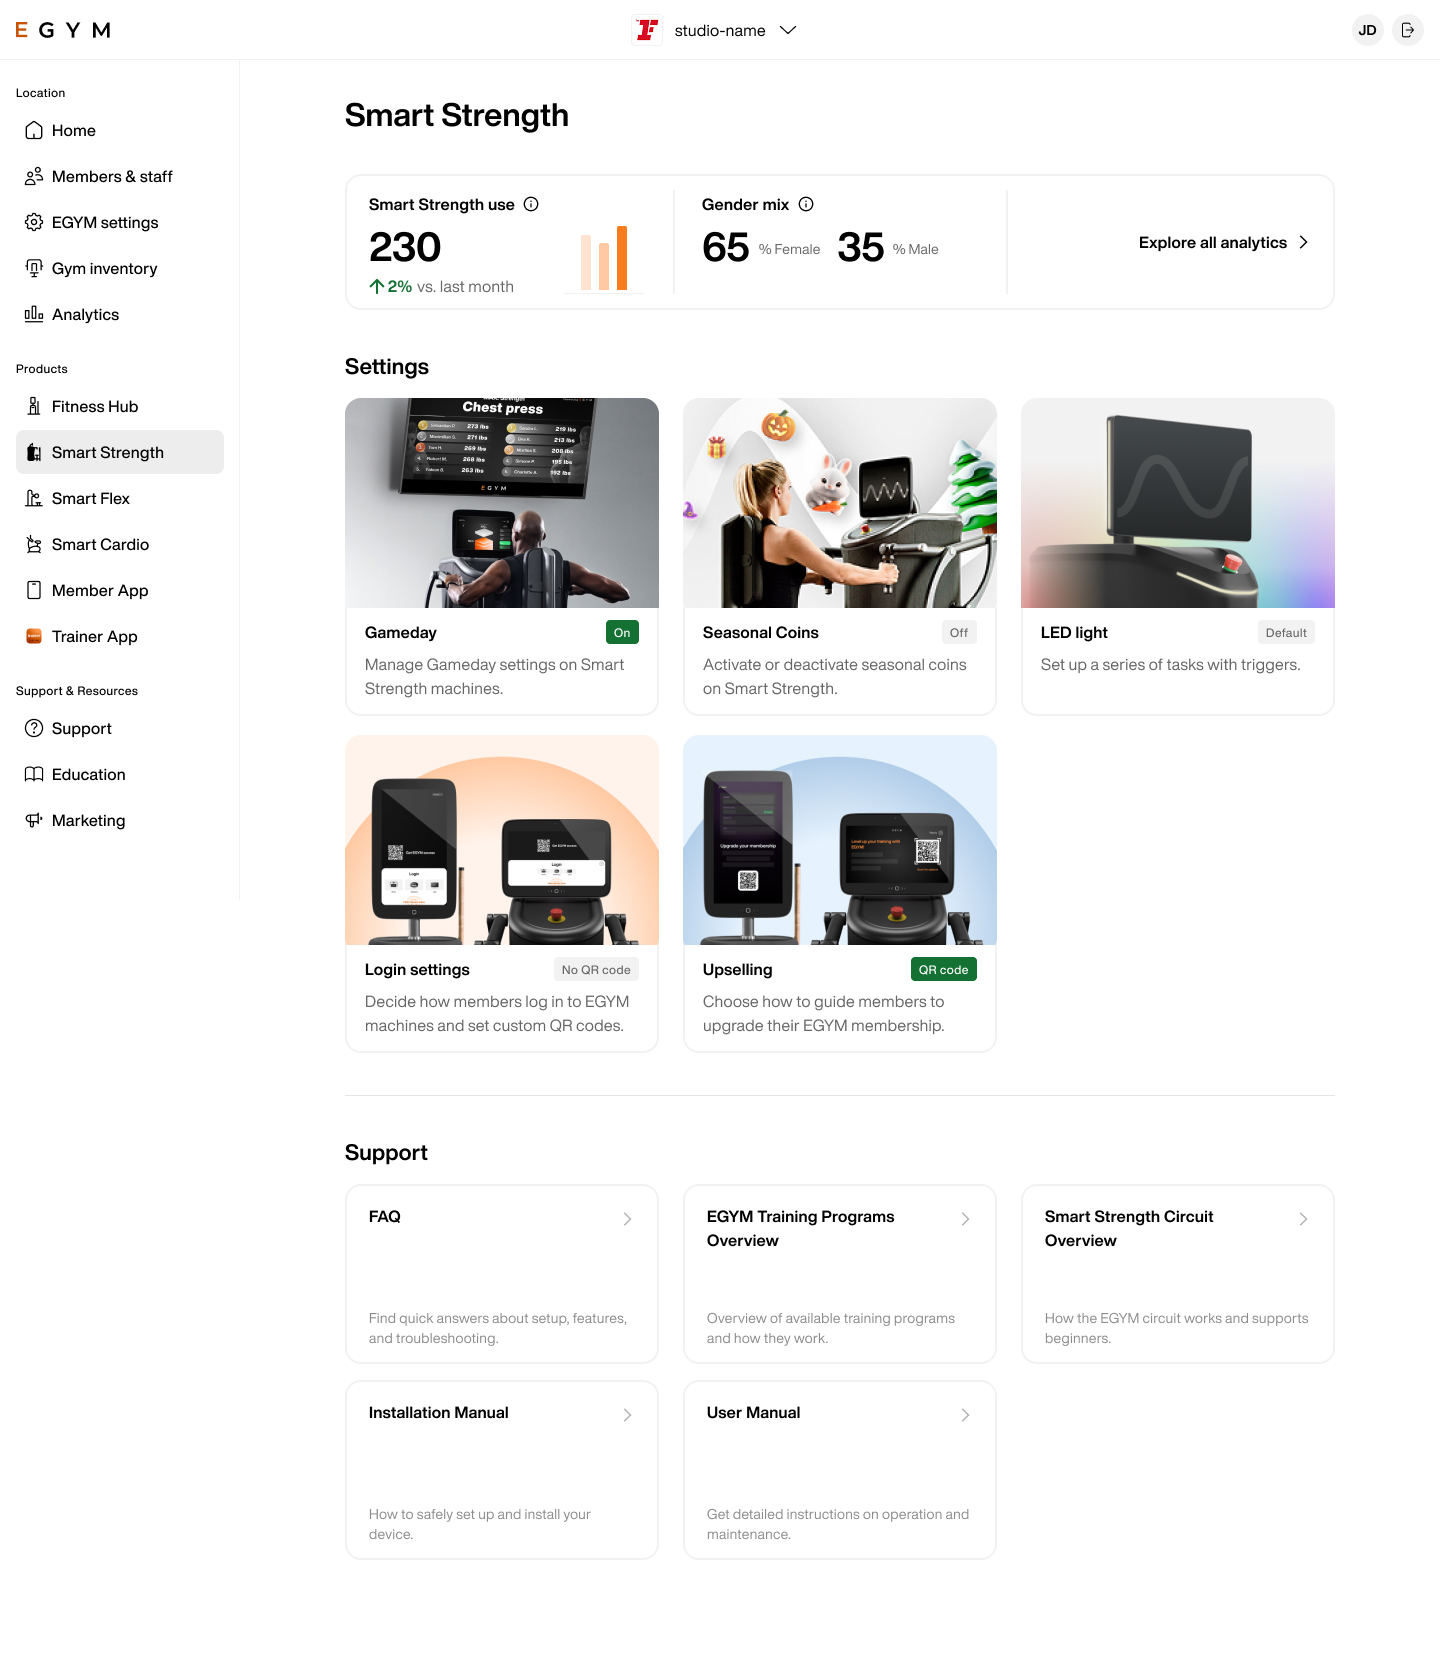
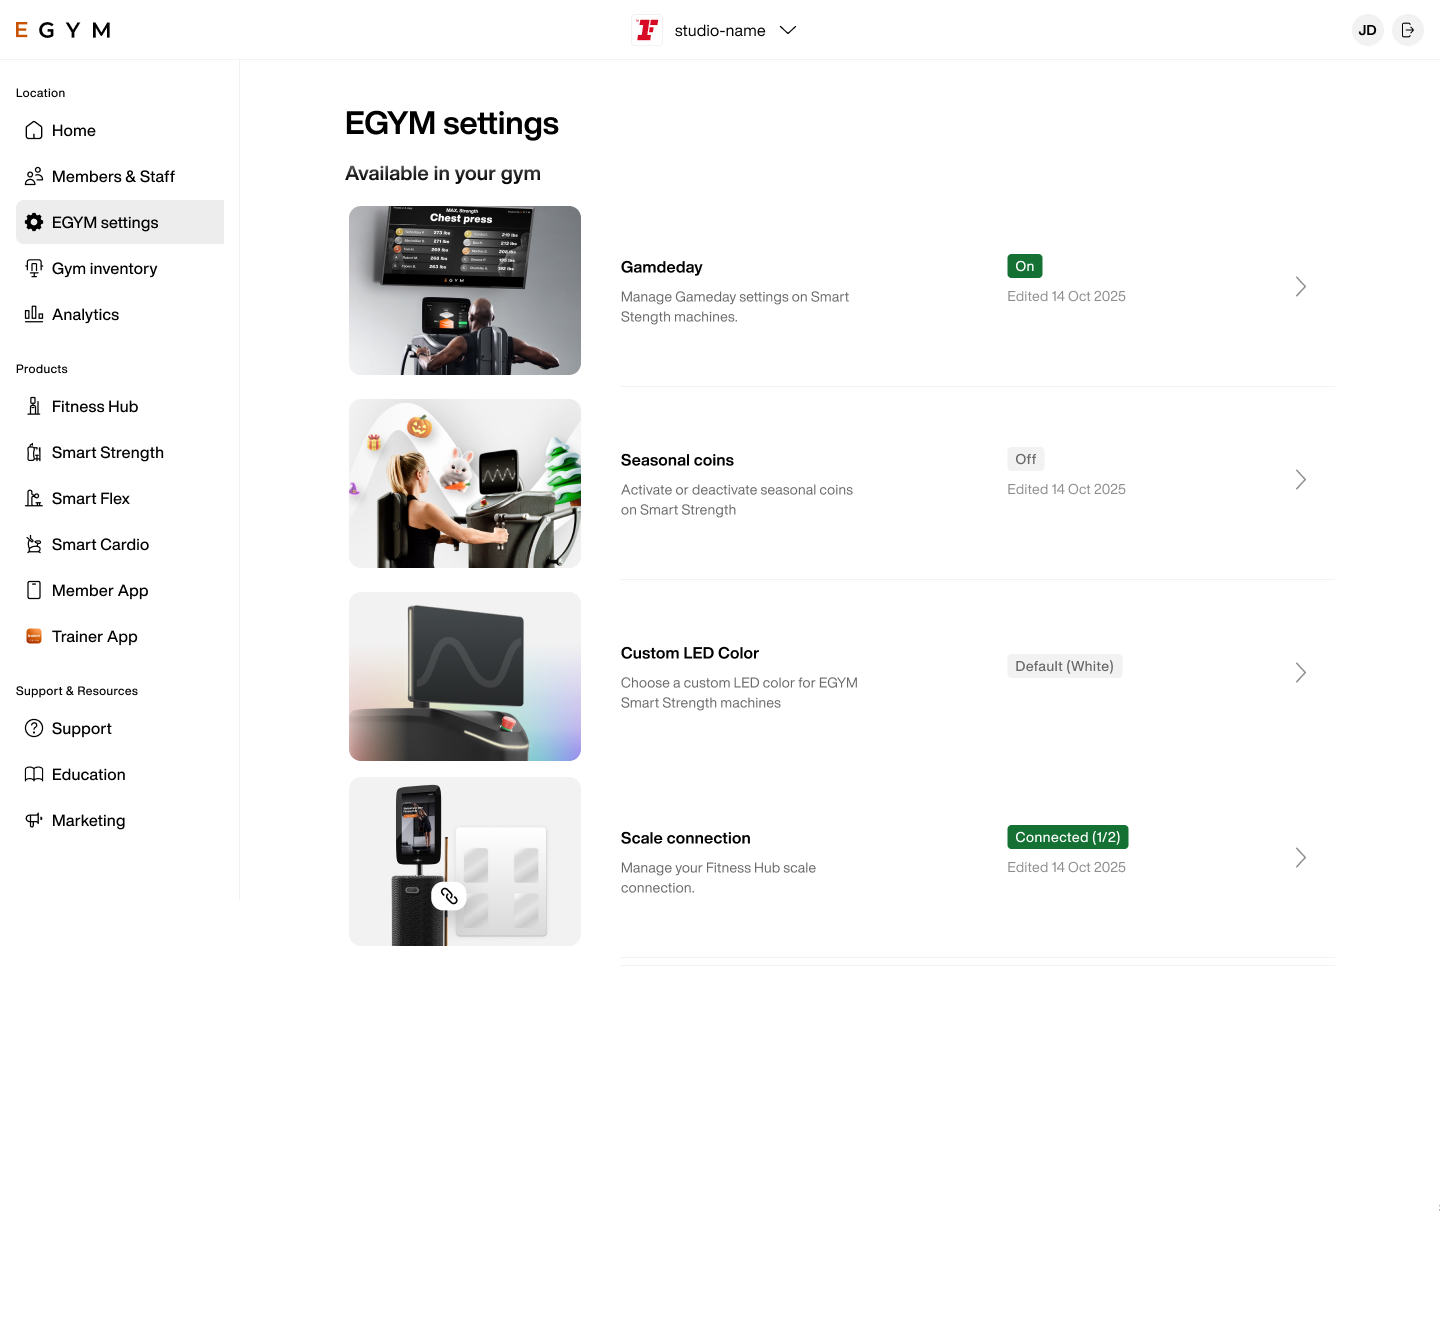
This articles explain how to configure various settings using the Business Suite. Within these settings, you can customize how members interact with your hardware and personalize the visual environment to match your gym's branding. These configurations apply globally across all your connected EGYM machines.
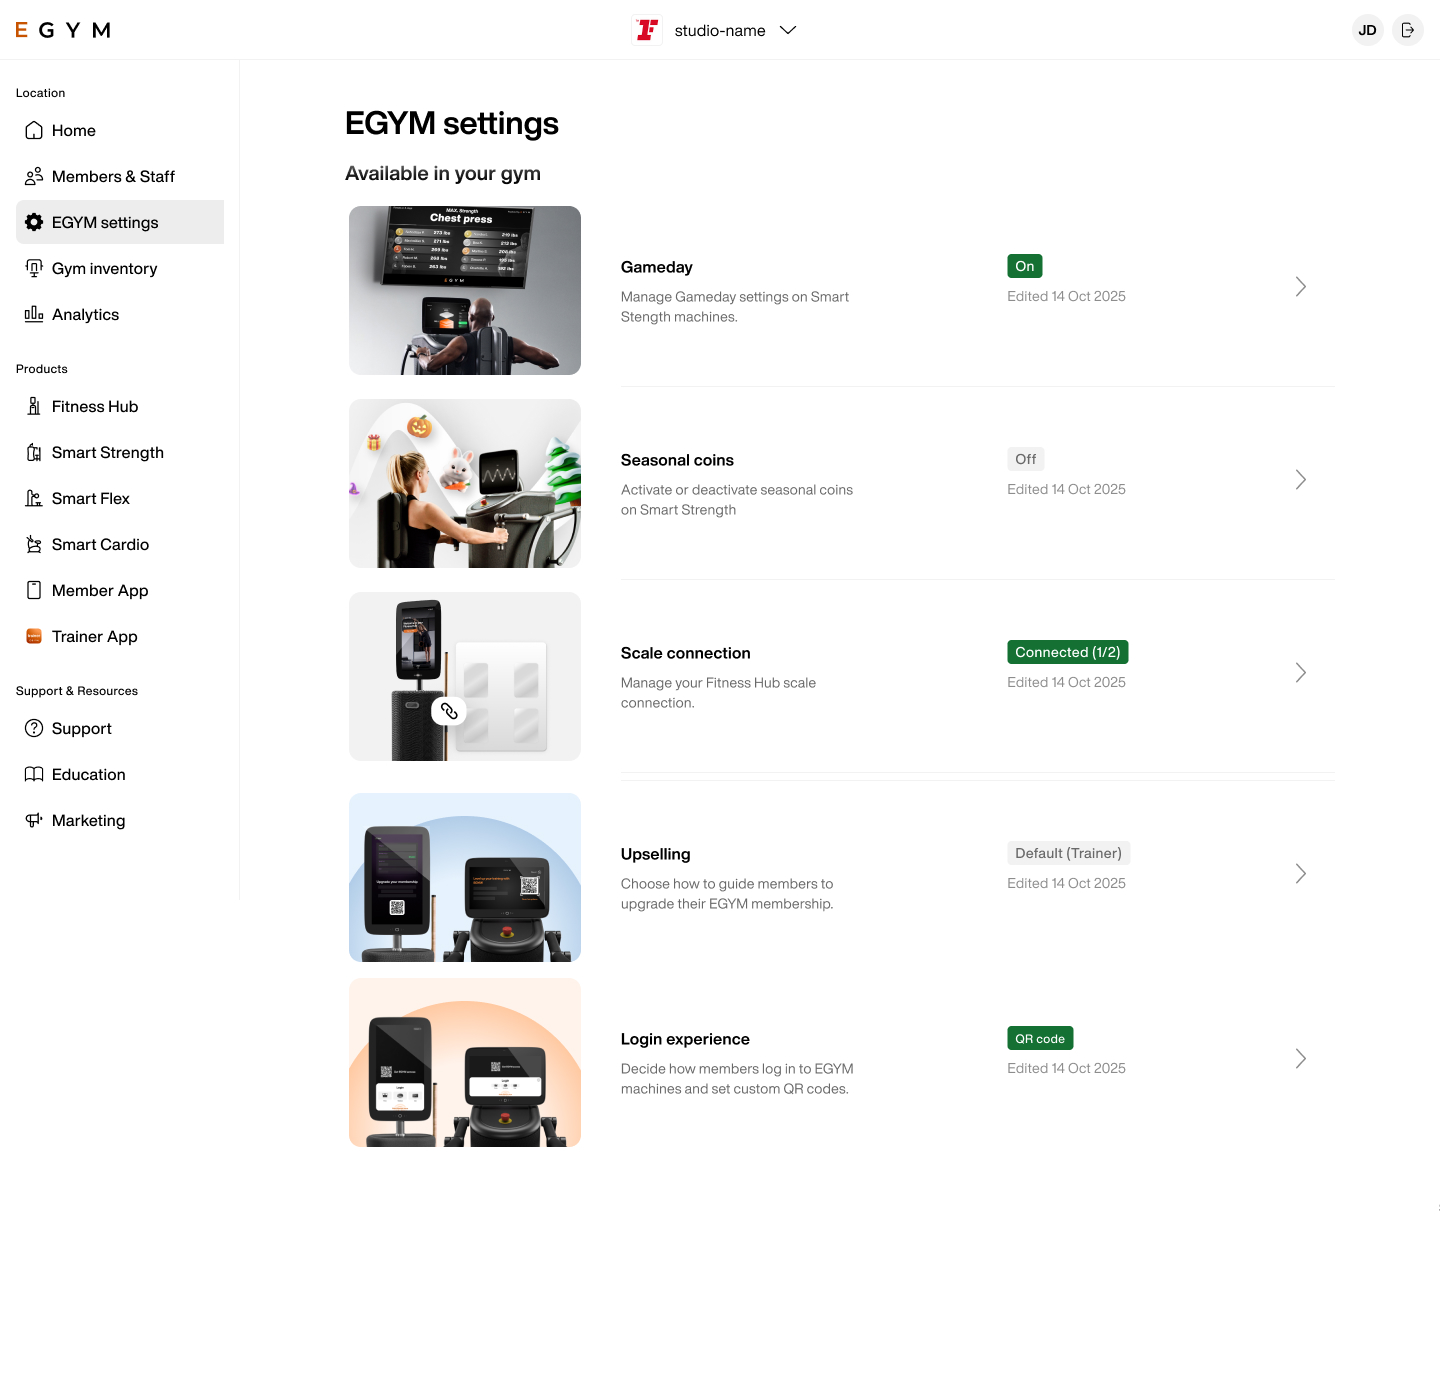
Login experience
Purpose
This article explains how to configure login devices, user interface QR codes, using the Business Suite. With these options, you can customize how members interact with your hardware and personalize the visual environment to match your gym's branding. These configurations apply globally across all your connected EGYM machines. It is recommend to finalize these settings before your machines go live to ensure a consistent, branded experience for your members from day one.
Prerequisites
Ensure you meet the following prerequisites before attempting to change configurations:
You need access to the Business Suite at http://business-suite.egym.com.
You must have admin permission.
Near-field communication (NFC) phone login must be enabled for your location by your Customer Success Manager before it appears as a selectable option.
Phone login requires built-in hardware compatibility.
How to navigate to EGYM settings
Go to the EGYM Business Suite.
If you have multiple facilities, make sure the correct one is selected from the drop-down menu.
Set Up Login Devices
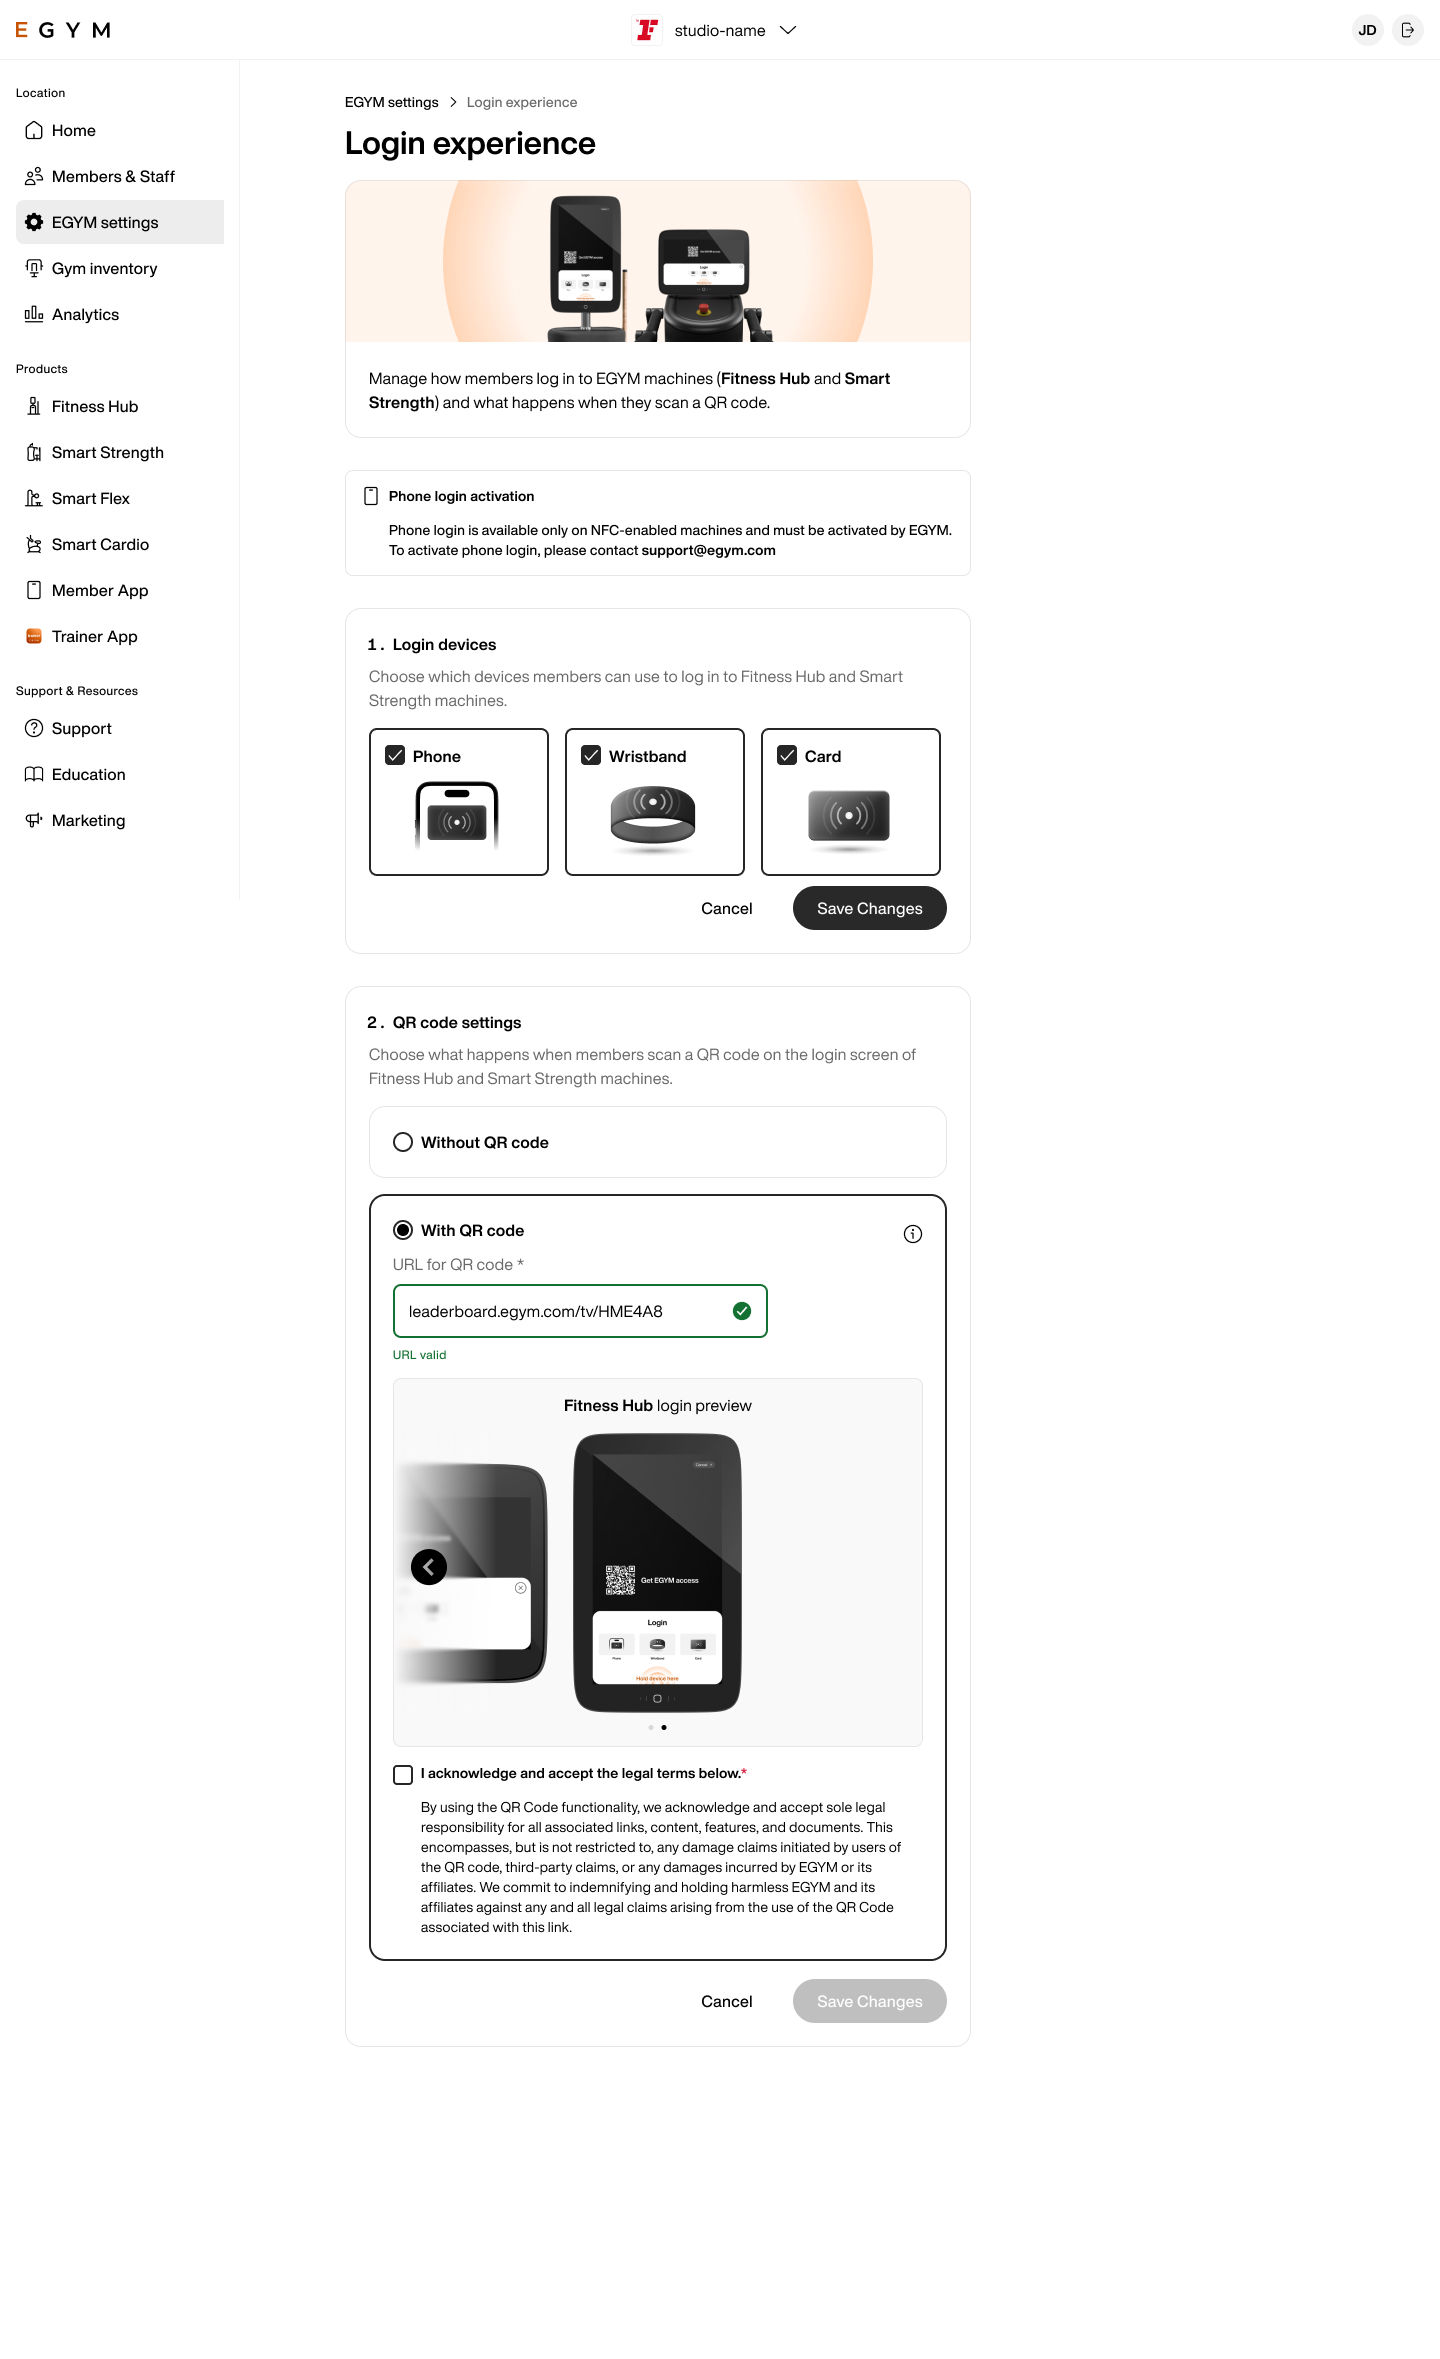
The Login settings section lets you choose which devices members can use to access your EGYM machines.
Available Options
Wristband: Members tap their RFID wristband on the machine to log in.
Card: Members tap their RFID card on the machine to log in.
Phone: Members tap their phone (using NFC) on the machine to log in.
Note
At least one login device must remain selected at all times. Multiple login devices can be selected. The Save button will remain disabled until an eligible change is made. An NFC information box is always displayed on this page for reference.
Configure the machine QR code
The Login experience section also controls the QR code displayed on EGYM machine login screens. This code can direct members to your gym's standalone app or guide them through the phone login (NFC) setup.
Note
If you would like to configure a QR code, an RFID device must be enabled.
From EGYM Settings, navigate to the Login experience section.
Under QR code, select the option that fits your facility.
If choosing Custom QR code, enter your destination URL in the provided field.
Select Save. Confirm the changes in the pop-up confirmation dialog box.
If a member has already configured phone login, scanning the QR code will instantly open the NFC feature inside your gym's app.
Note
The system checks that custom URLs match a valid web format; it does not verify whether the destination link is live or active.
Custom LED color
Purpose
This article explains how to configure LED settings for Smart Strength Series 3 machines using the Business Suite. With the right setup, you can personalize the lighting experience in your gym — including brand colors and visual feedback for members. The machine uses its factory default lighting behavior, which may not reflect your gym's branding. We recommend configuring LED settings before your Series 3 machines go live to ensure a consistent experience from day one.
Before you start
You must have access to the Business Suite with admin rights.
Your gym must have at least one Series 3 machine connected.
Configure LED settings for your Series 3 machines
Open the Business Suite.
Select EGYM Settings from the main navigation or navigate to the Smart Strength product page in the Business Suite.
Select the Custom LED Color tab to open the LED configuration options.
Choose your preferred settings:
Note
The machine uses its factory default lighting behavior, which may not reflect your gym's branding. We recommend configuring LED settings before your Series 3 machines go live to ensure a consistent experience from day one.
Brand color: Select a primary color that matches your gym's branding. The LEDs on the Series 3 machines will reflect this color during idle and active states.
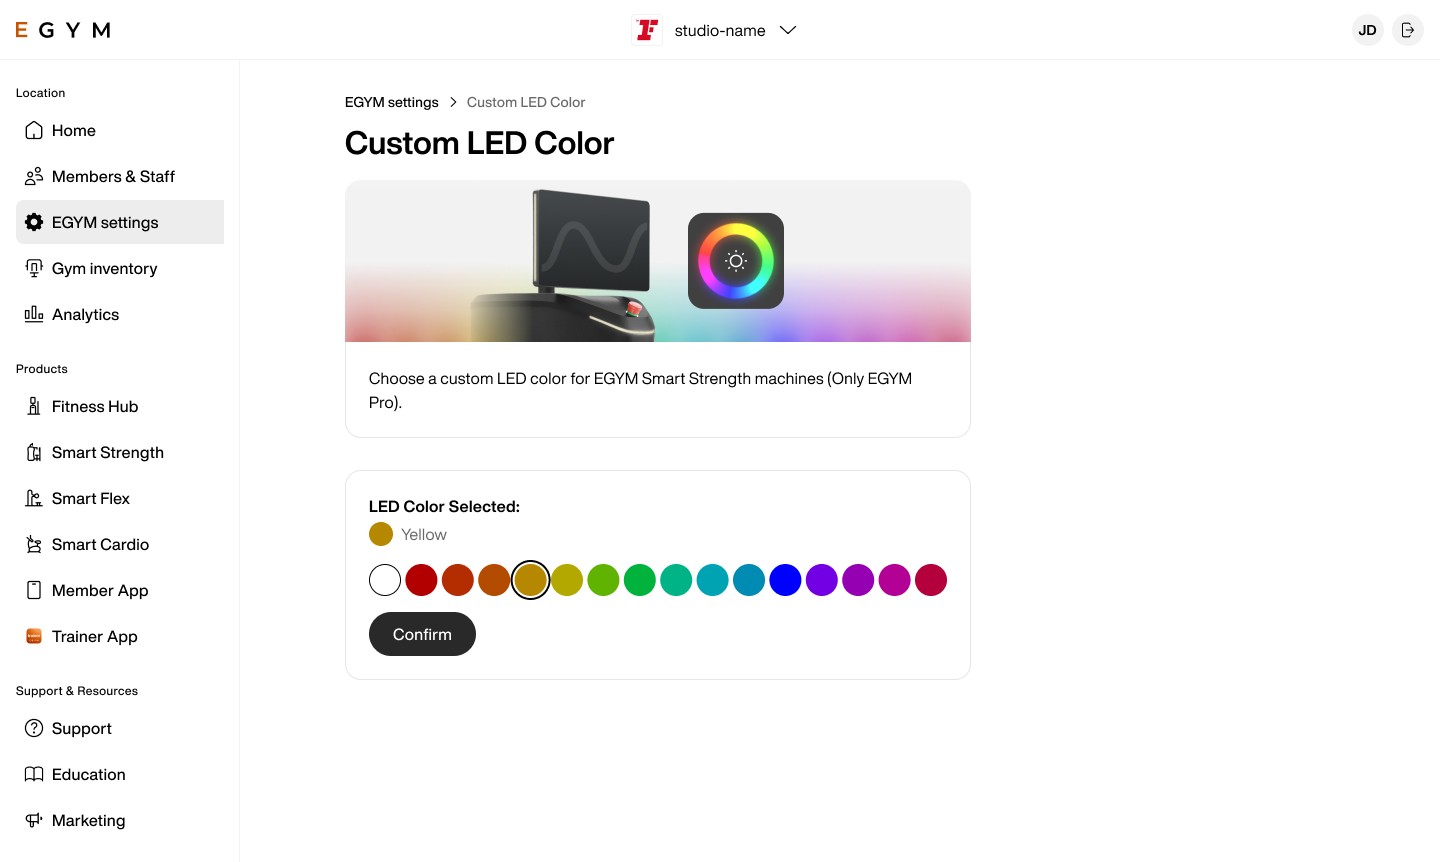
Select Confirm to apply your changes.
Note
Changes may take a few minutes to appear on the machine. If the LED display does not update, restart the machine and check the connection status in the Business Suite.