Business profile
The > page is your studio's central information hub for Wellpass.
Members use this information to find your location, hours, services, and booking details. Keep it accurate and up-to-date to maximize member engagement and booking conversions.
Edit your profile
To make changes to any page:
In the top-right corner, select . All sections are then editable.
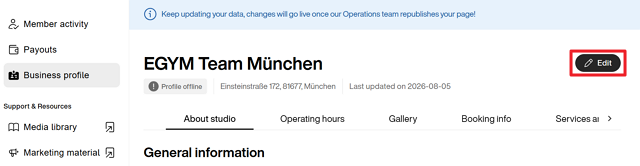
Once done making changes, click . Changes go live to the Wellpass app immediately.
Add basic information members should use to contact and find you.
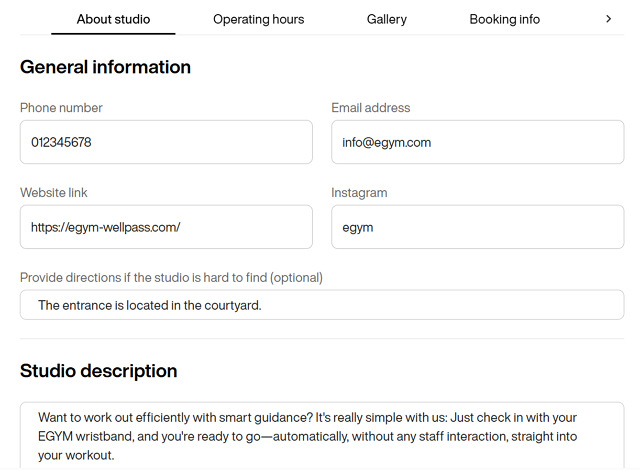
Phone number: Primary studio contact
Email address: For general inquiries
Website link: Your studio's official website
Instagram: Your studio's Instagram handle
Directions (optional): Brief instructions if your studio is hard to find (e.g., "Entrance located in the courtyard")
Studio description: Overview of your facility and member experience (visible to potential members)
Set your regular schedule and any exceptional closures, including whether your studio is opened or closed on public holidays.
Regular operating hours
Set your studio's normal operating hours for each day of the week.
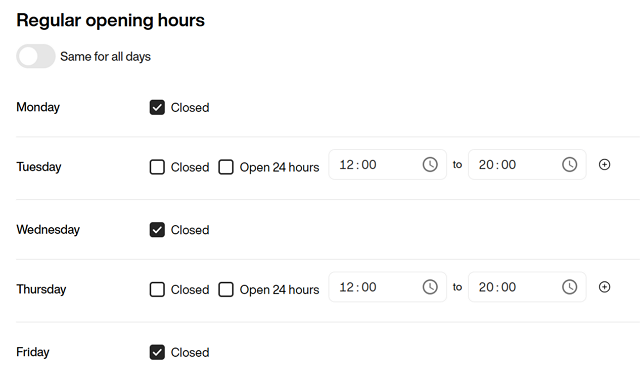
If hours vary by day, turn off .
For each day, select one of the options:
Custom time range (e.g., 12:00 – 20:00)
Note
If you have rest times between opening hours, add additional time periods by clicking the + icon.
You can also click the clock icon to select the time manually.
Add optional notes about supervised hours or restricted access.
Exceptional opening hours
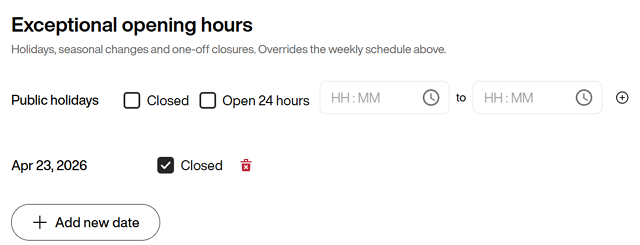
Configure holidays and seasonal closures that override your regular schedule.
Tip
Update exceptional hours early (holidays, seasonal closures) so members see accurate information.
Note
If you don't fill out the Exceptional opening hours, your studio will follow your regular hours, even during public holidays.
For Public holidays, select one of the options
Custom time range (e.g., 12:00 – 20:00)
Note
If you have rest times between opening hours, add additional time periods by clicking the + icon.
You can also click the clock icon to select the time manually.
To add specific exceptions, click . For the date you specify, you can choose to close the studio entirely or select .
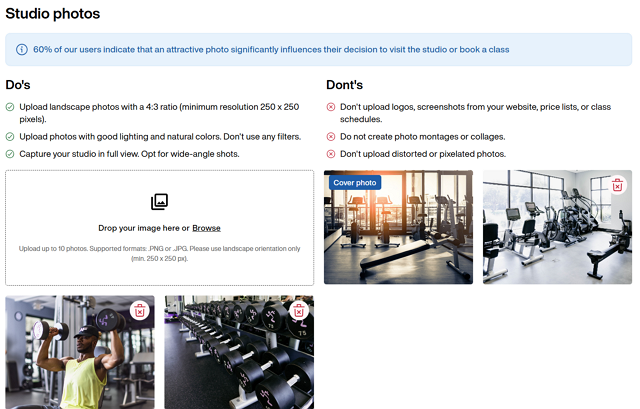
Upload photos of your studio that reflect your studio branding and offerings. You can upload a maximum of 10 photos.
Refer to the do's and dont's on the page for requirements and tips.
Tip
High-quality gallery photos drive bookings. We recommend investing in professional shots of your best areas.
Drag and drop the images to arrange the order they appear in the app. The first image is automatically set as the cover photo.
Tell members how to book classes or access your studio.
Tip
Review booking settings quarterly to ensure they align with your current member intake process.
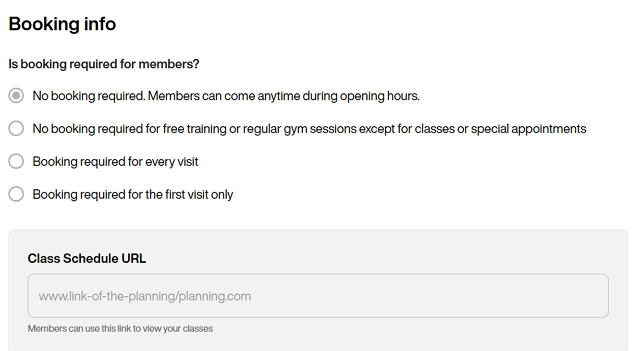
Under Is booking required for members?, choose one of the options provided.
For all options except “No booking required. Members can come anytime during opening hours.”, you must select one way members should book:
You then must provide the respective phone number, email address, or booking link.
If you have one, enter your Class Schedule URL. This is the link members use to view and book classes.
Fill out your studio's offerings. These appear in member-facing searches and booking filters.
Note
Some activities may be prefilled by your contract. Those options are not selectable or editable.
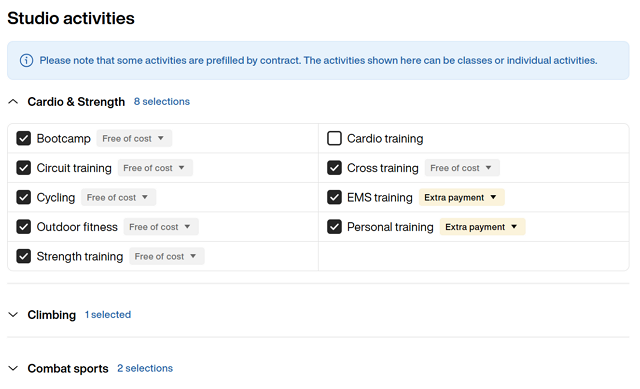
Select which activities, services, equipment, and information your studio offers.
Mark each option as either or . This helps members understand which services are included in their membership.
Make sure to fill out the Equipment to bring (for the member), so members know what to bring in advance.